
You’ve found the perfect anatomy print—maybe a beautifully abstract heart or an elegant depiction of the cervical spine—but now you’re stuck:
What size should I get? Which frame fits best? How do I make it look like I didn’t just wing it during lunch break?
Let’s walk through it doctor-to-doctor.
1. Pick the Right Size (No, 8×10 Isn’t Always Enough)
Here’s how to choose based on the room type and wall space:
- 8×10 inches (20×25 cm)
Small and compact. Perfect for:
-
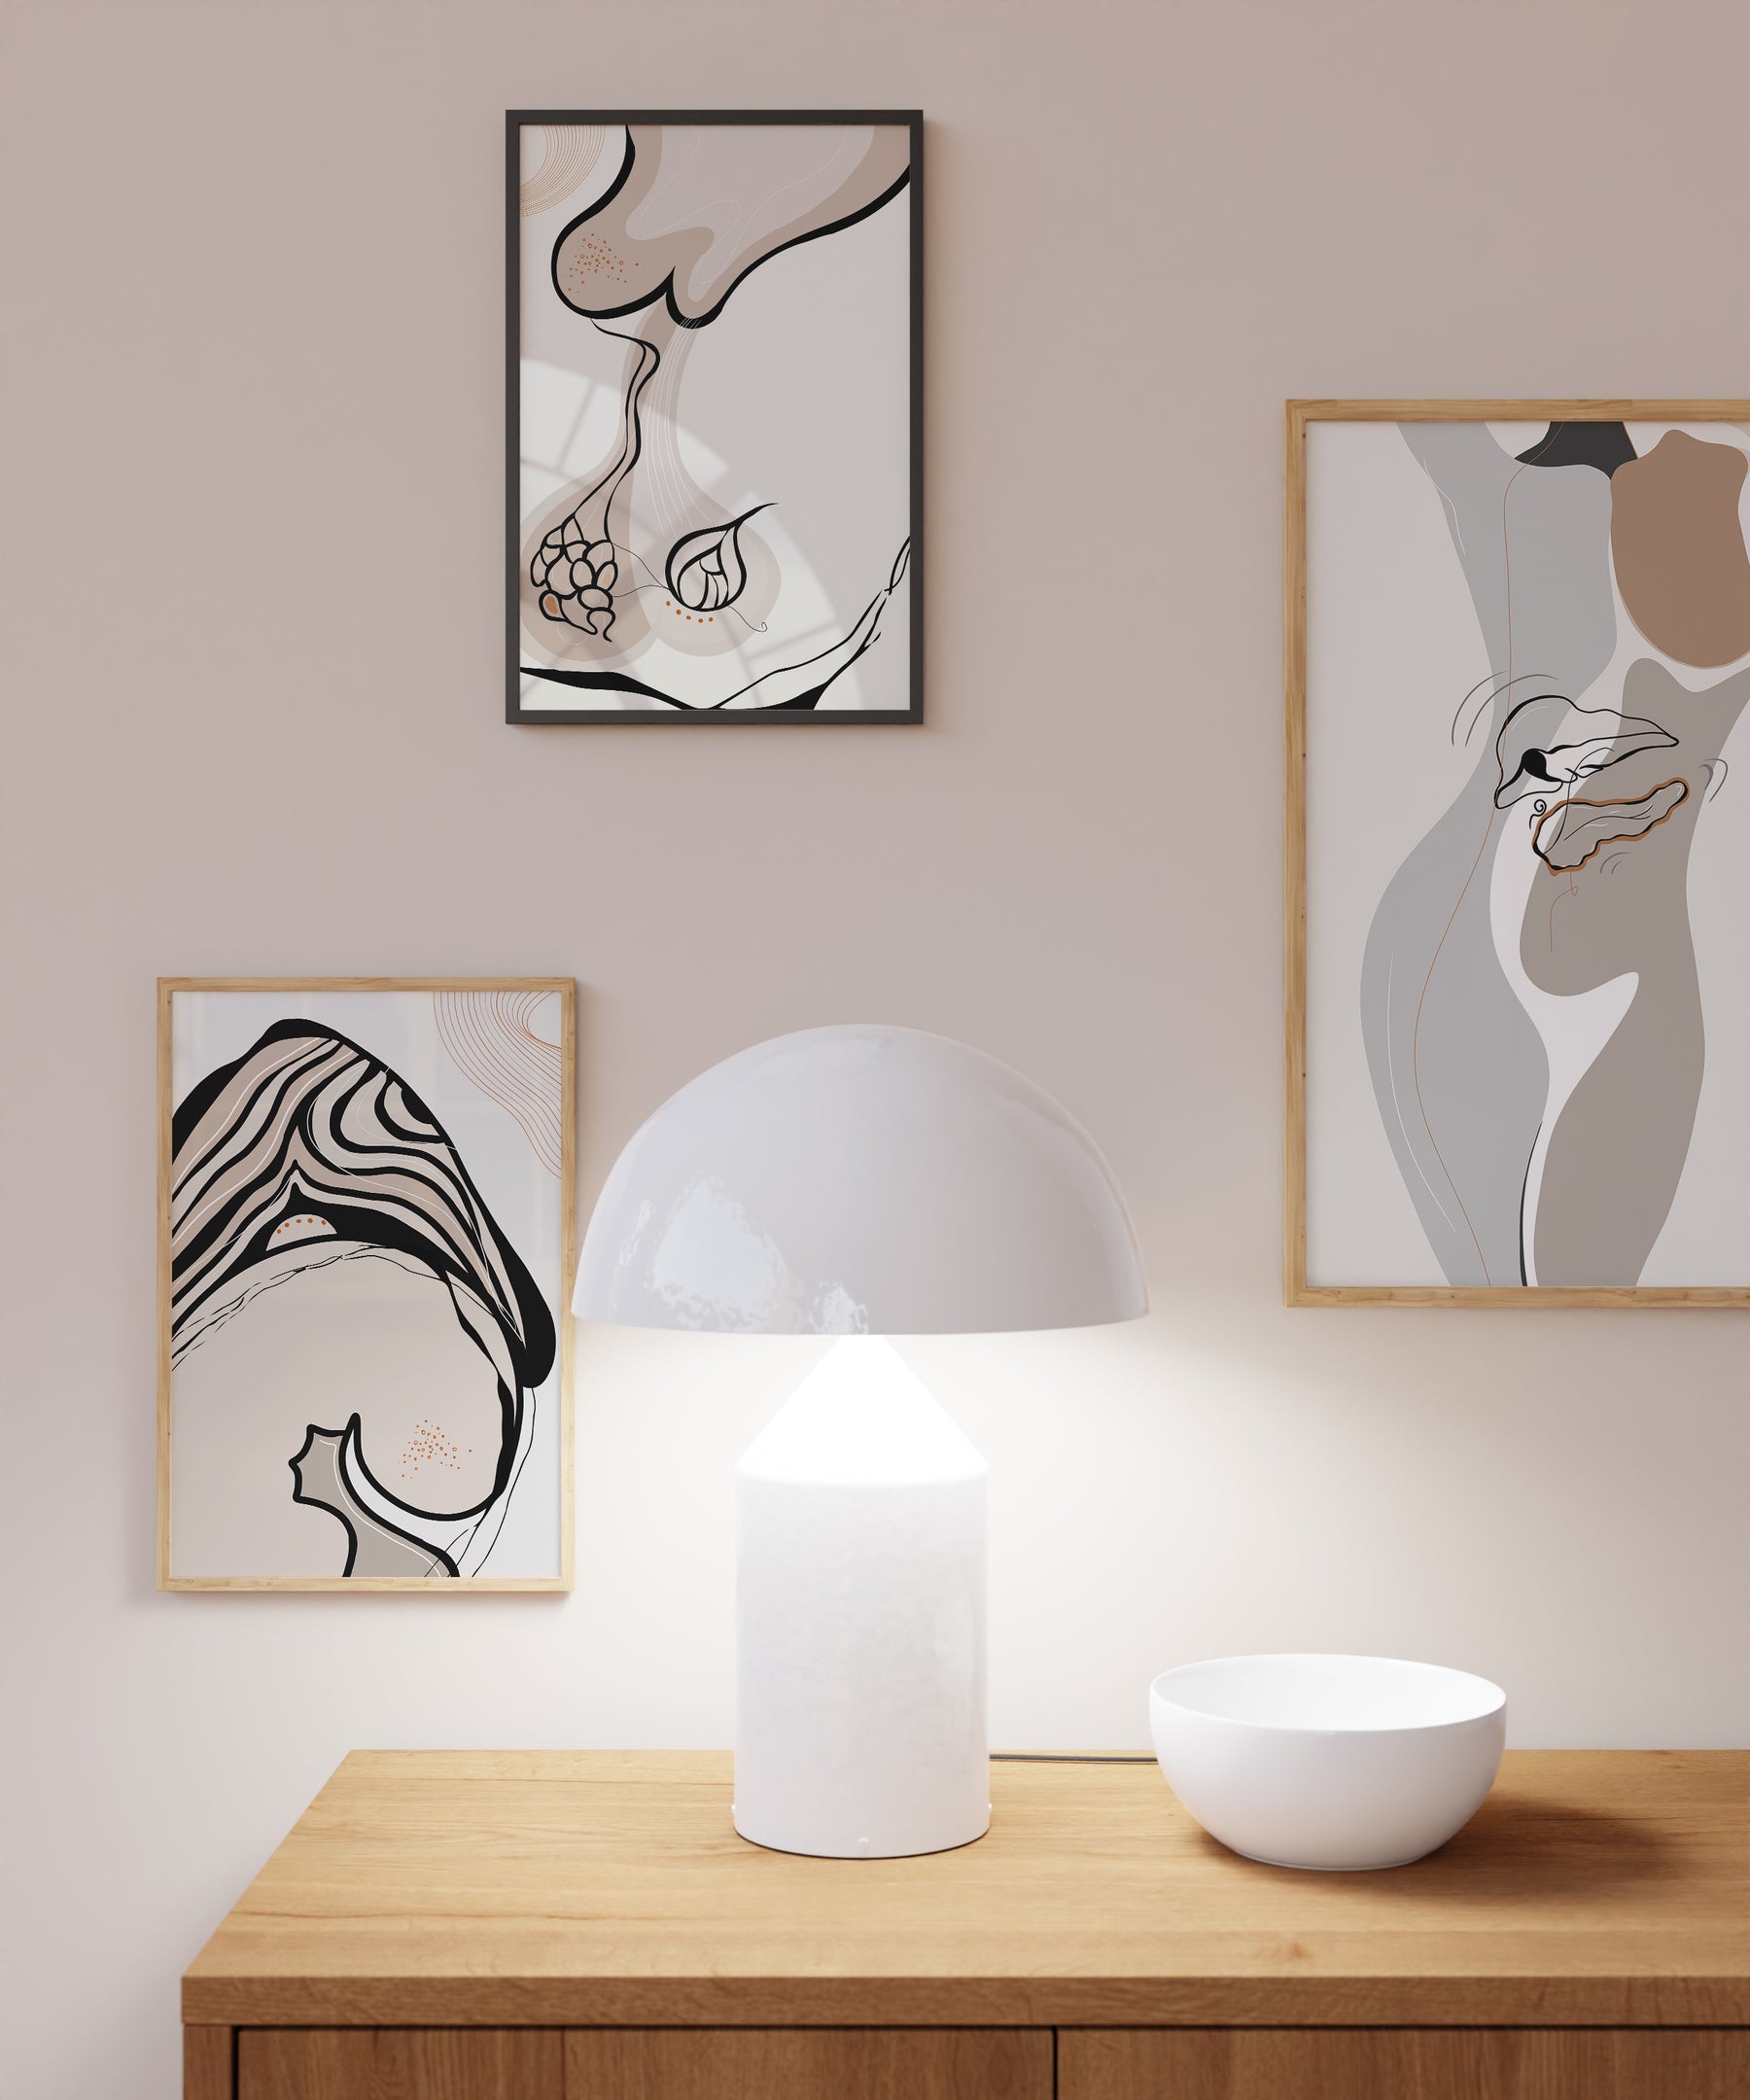
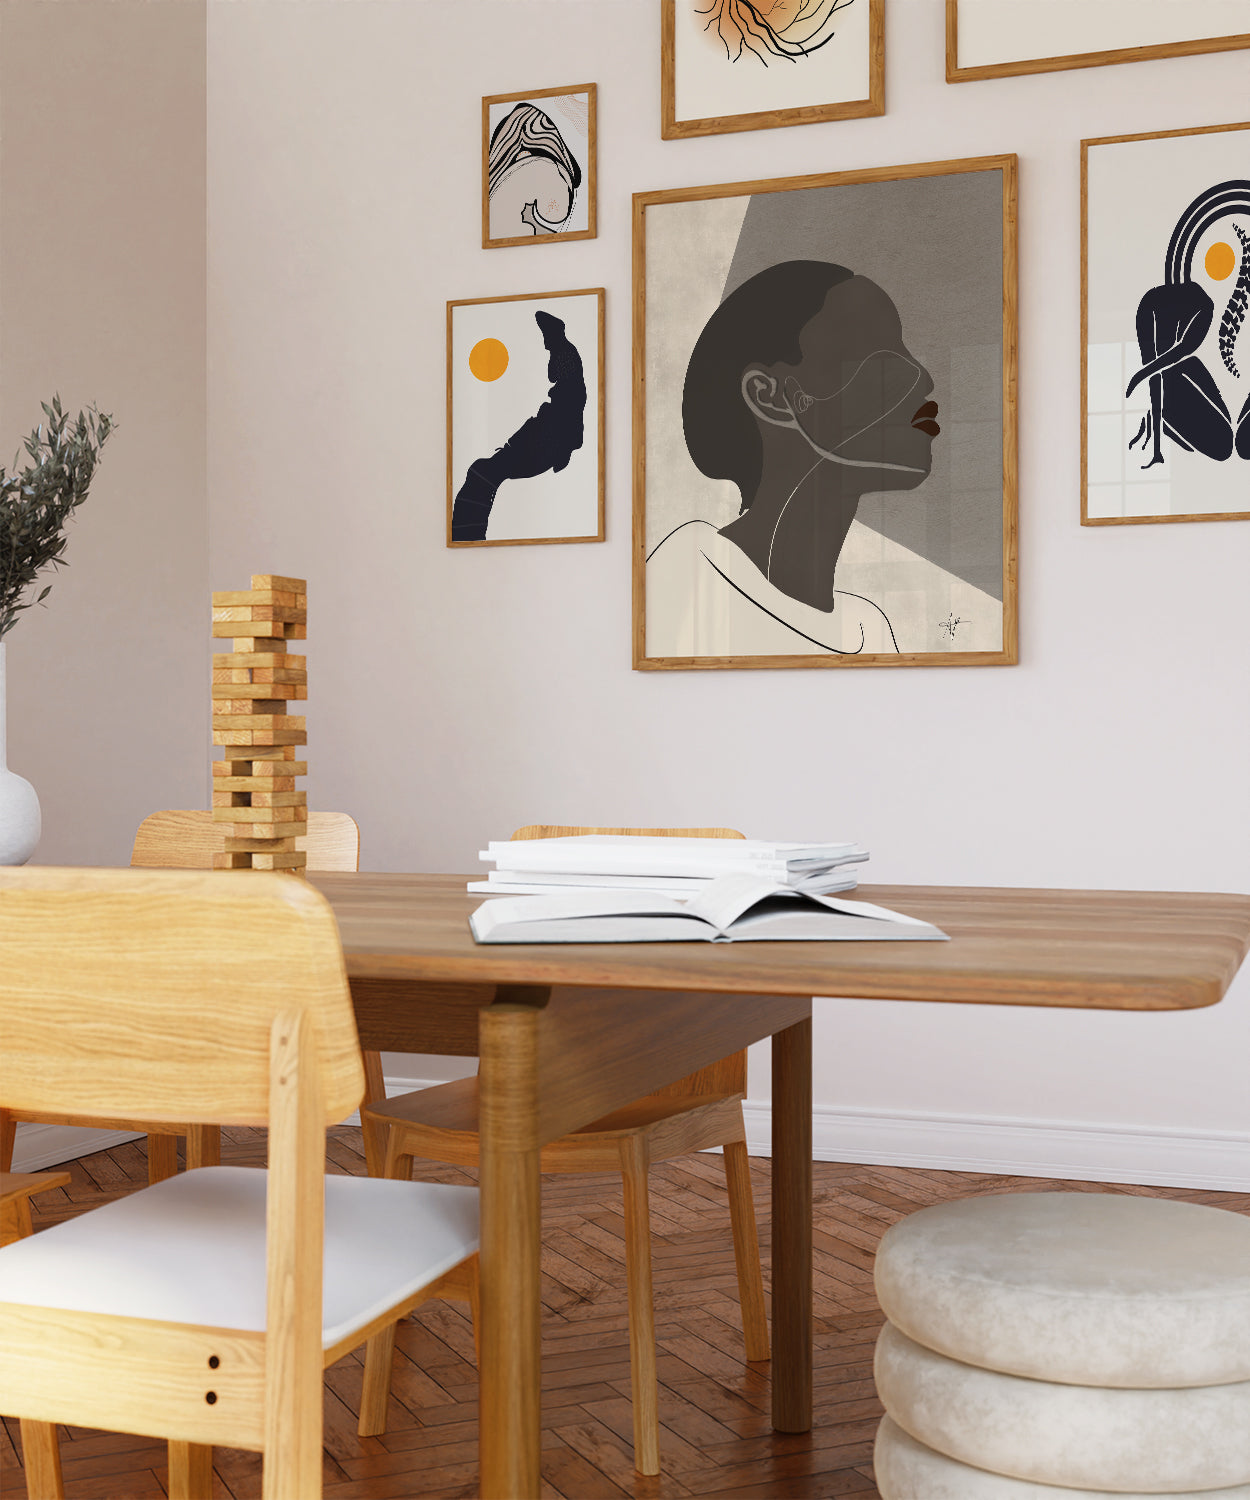
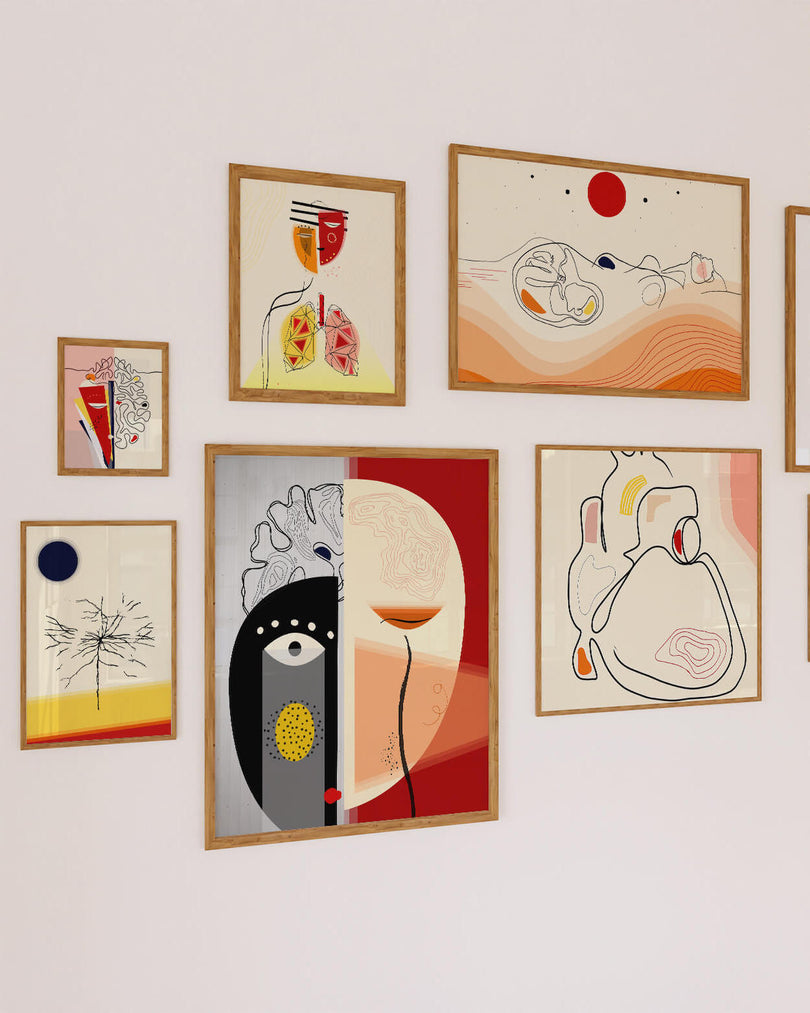
Grouping in sets of 2–4 for a gallery-style effect
-
Narrow hallways, behind doors, or check-in desks
-
Pairing with certificates or diplomas
Think: detail accent, not focal point.
- 12×16 inches (30×40 cm)
The flexible middle ground. Ideal for:
-
Exam rooms where space is limited
-
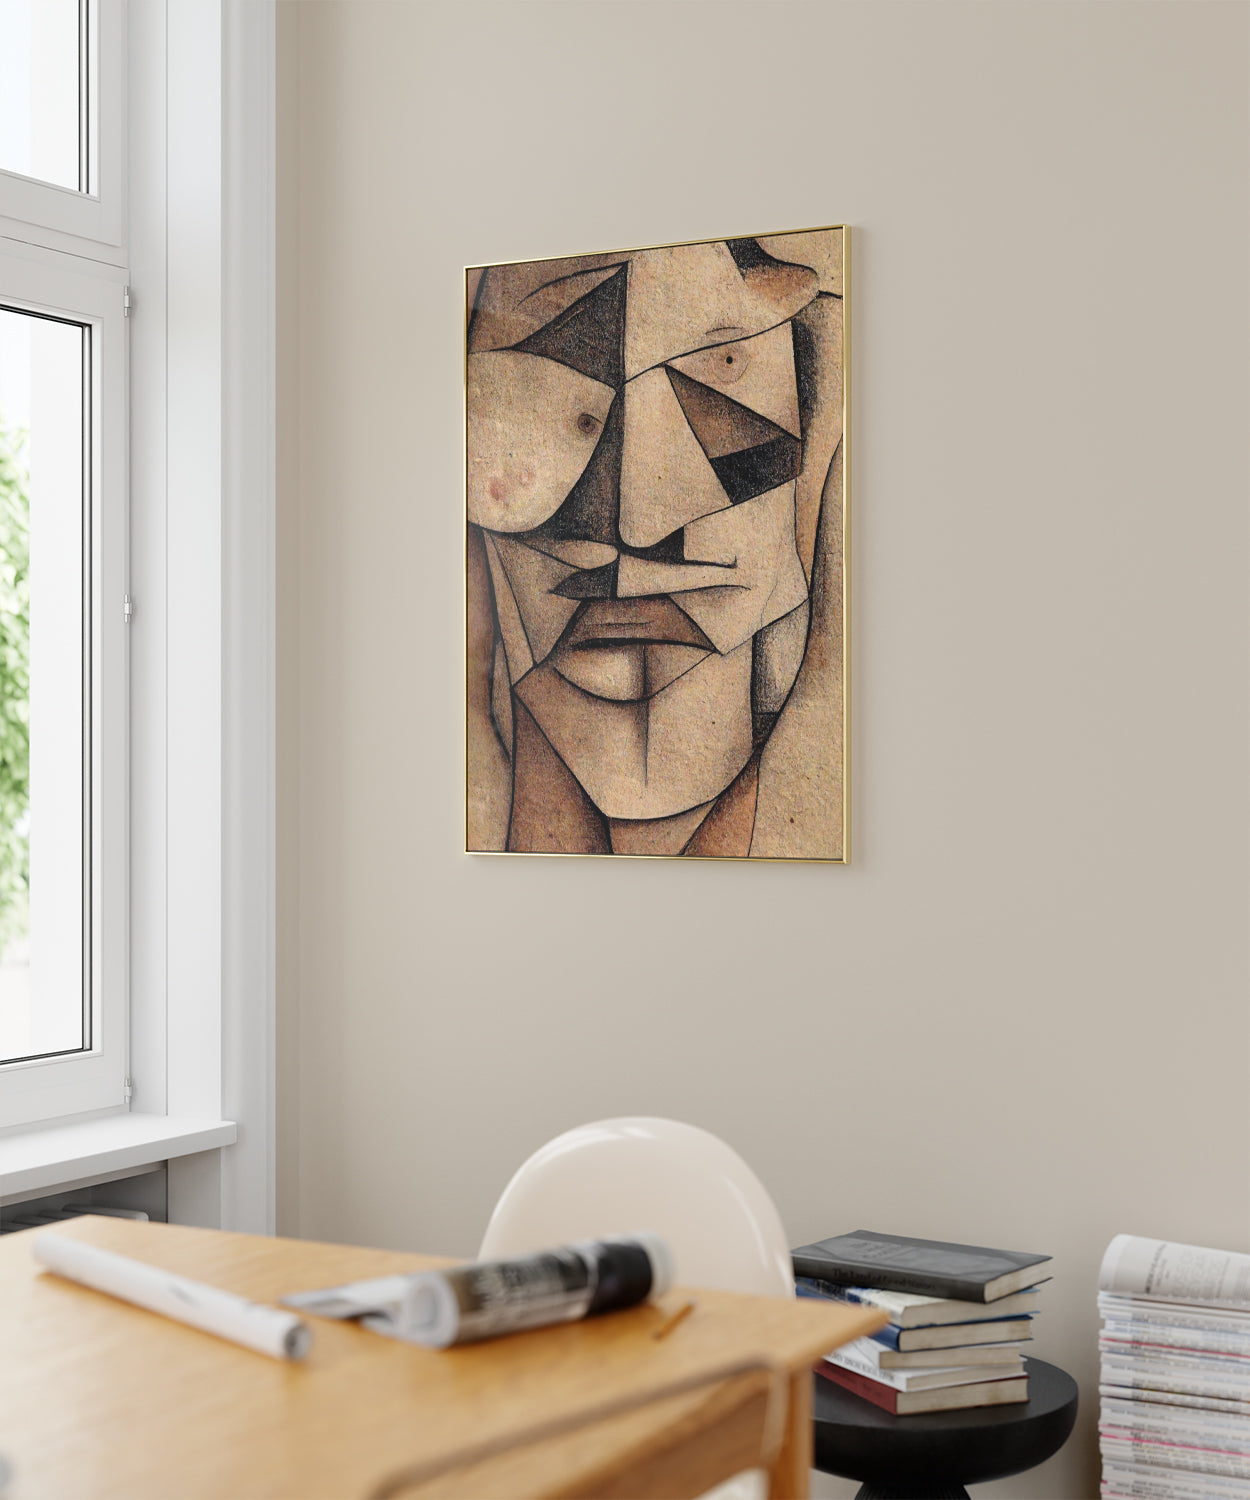
A single focus print above a desk or treatment chair
-
Mixing sizes in a wall cluster
Works great with thin black, white, or oak frames.
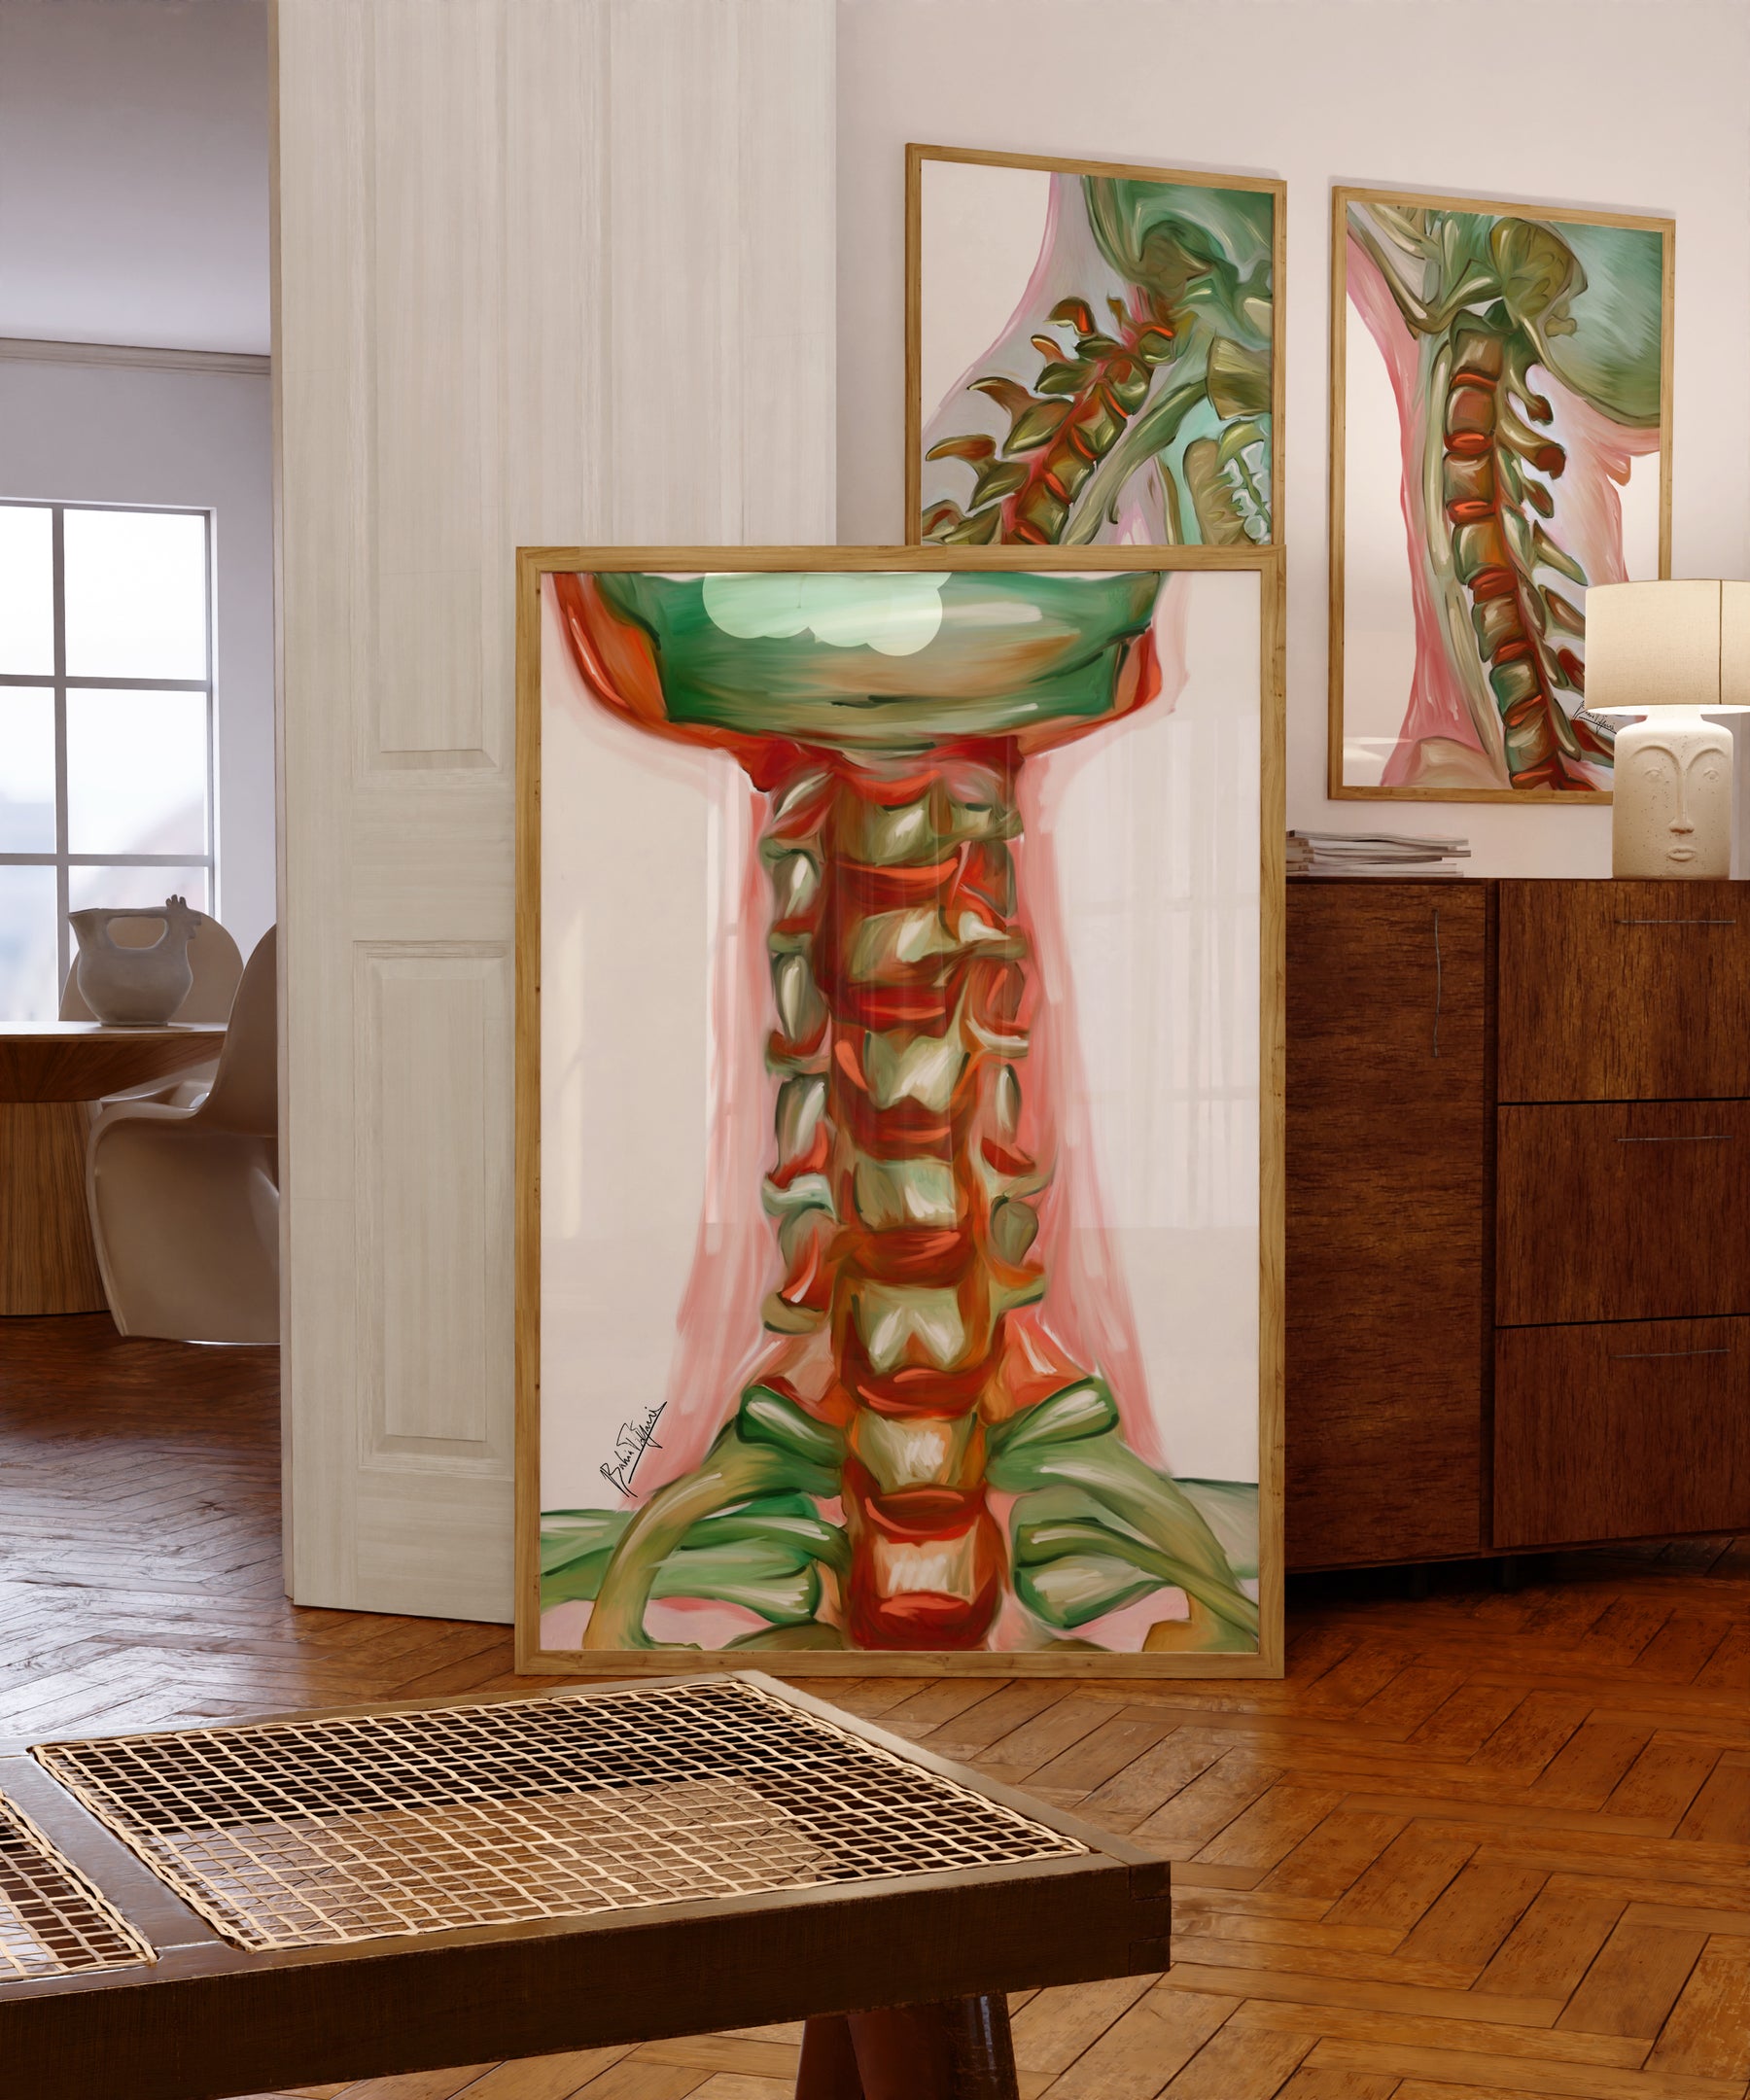
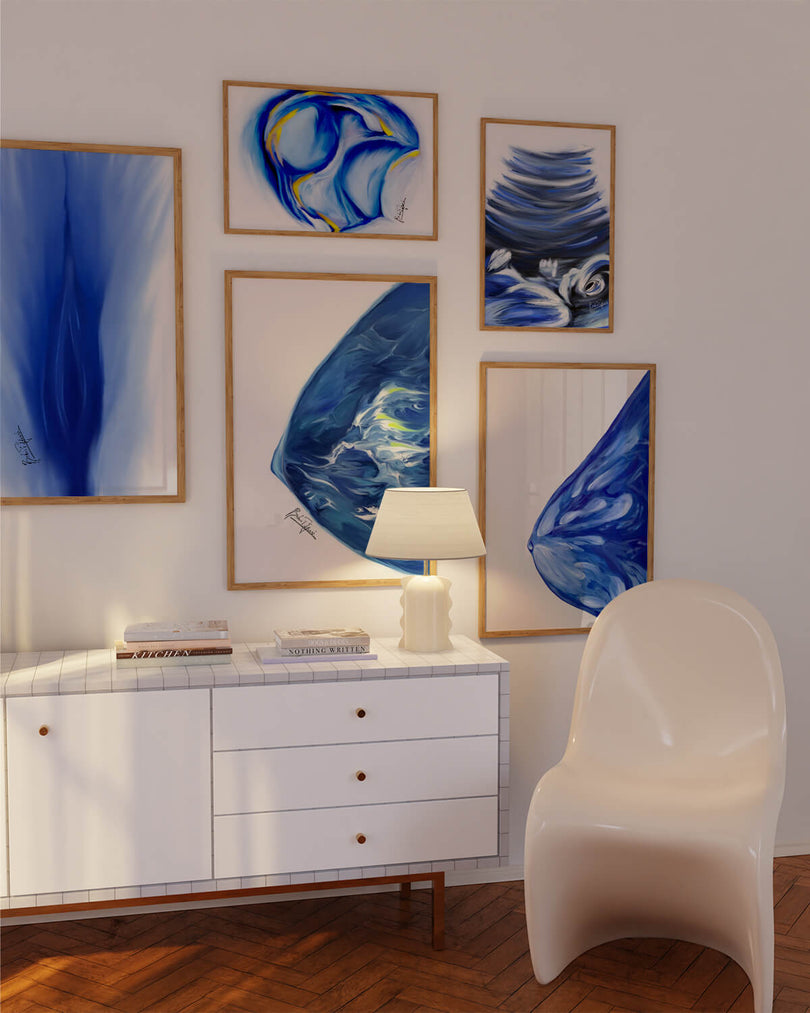
- 18×24 inches (45×60 cm)
Statement-maker size. Use it for:
-
Reception areas to impress at first glance
-
Patient education corners (easy to point to)
-
Behind seating areas in waiting rooms
Large enough to turn heads, small enough to not overwhelm.
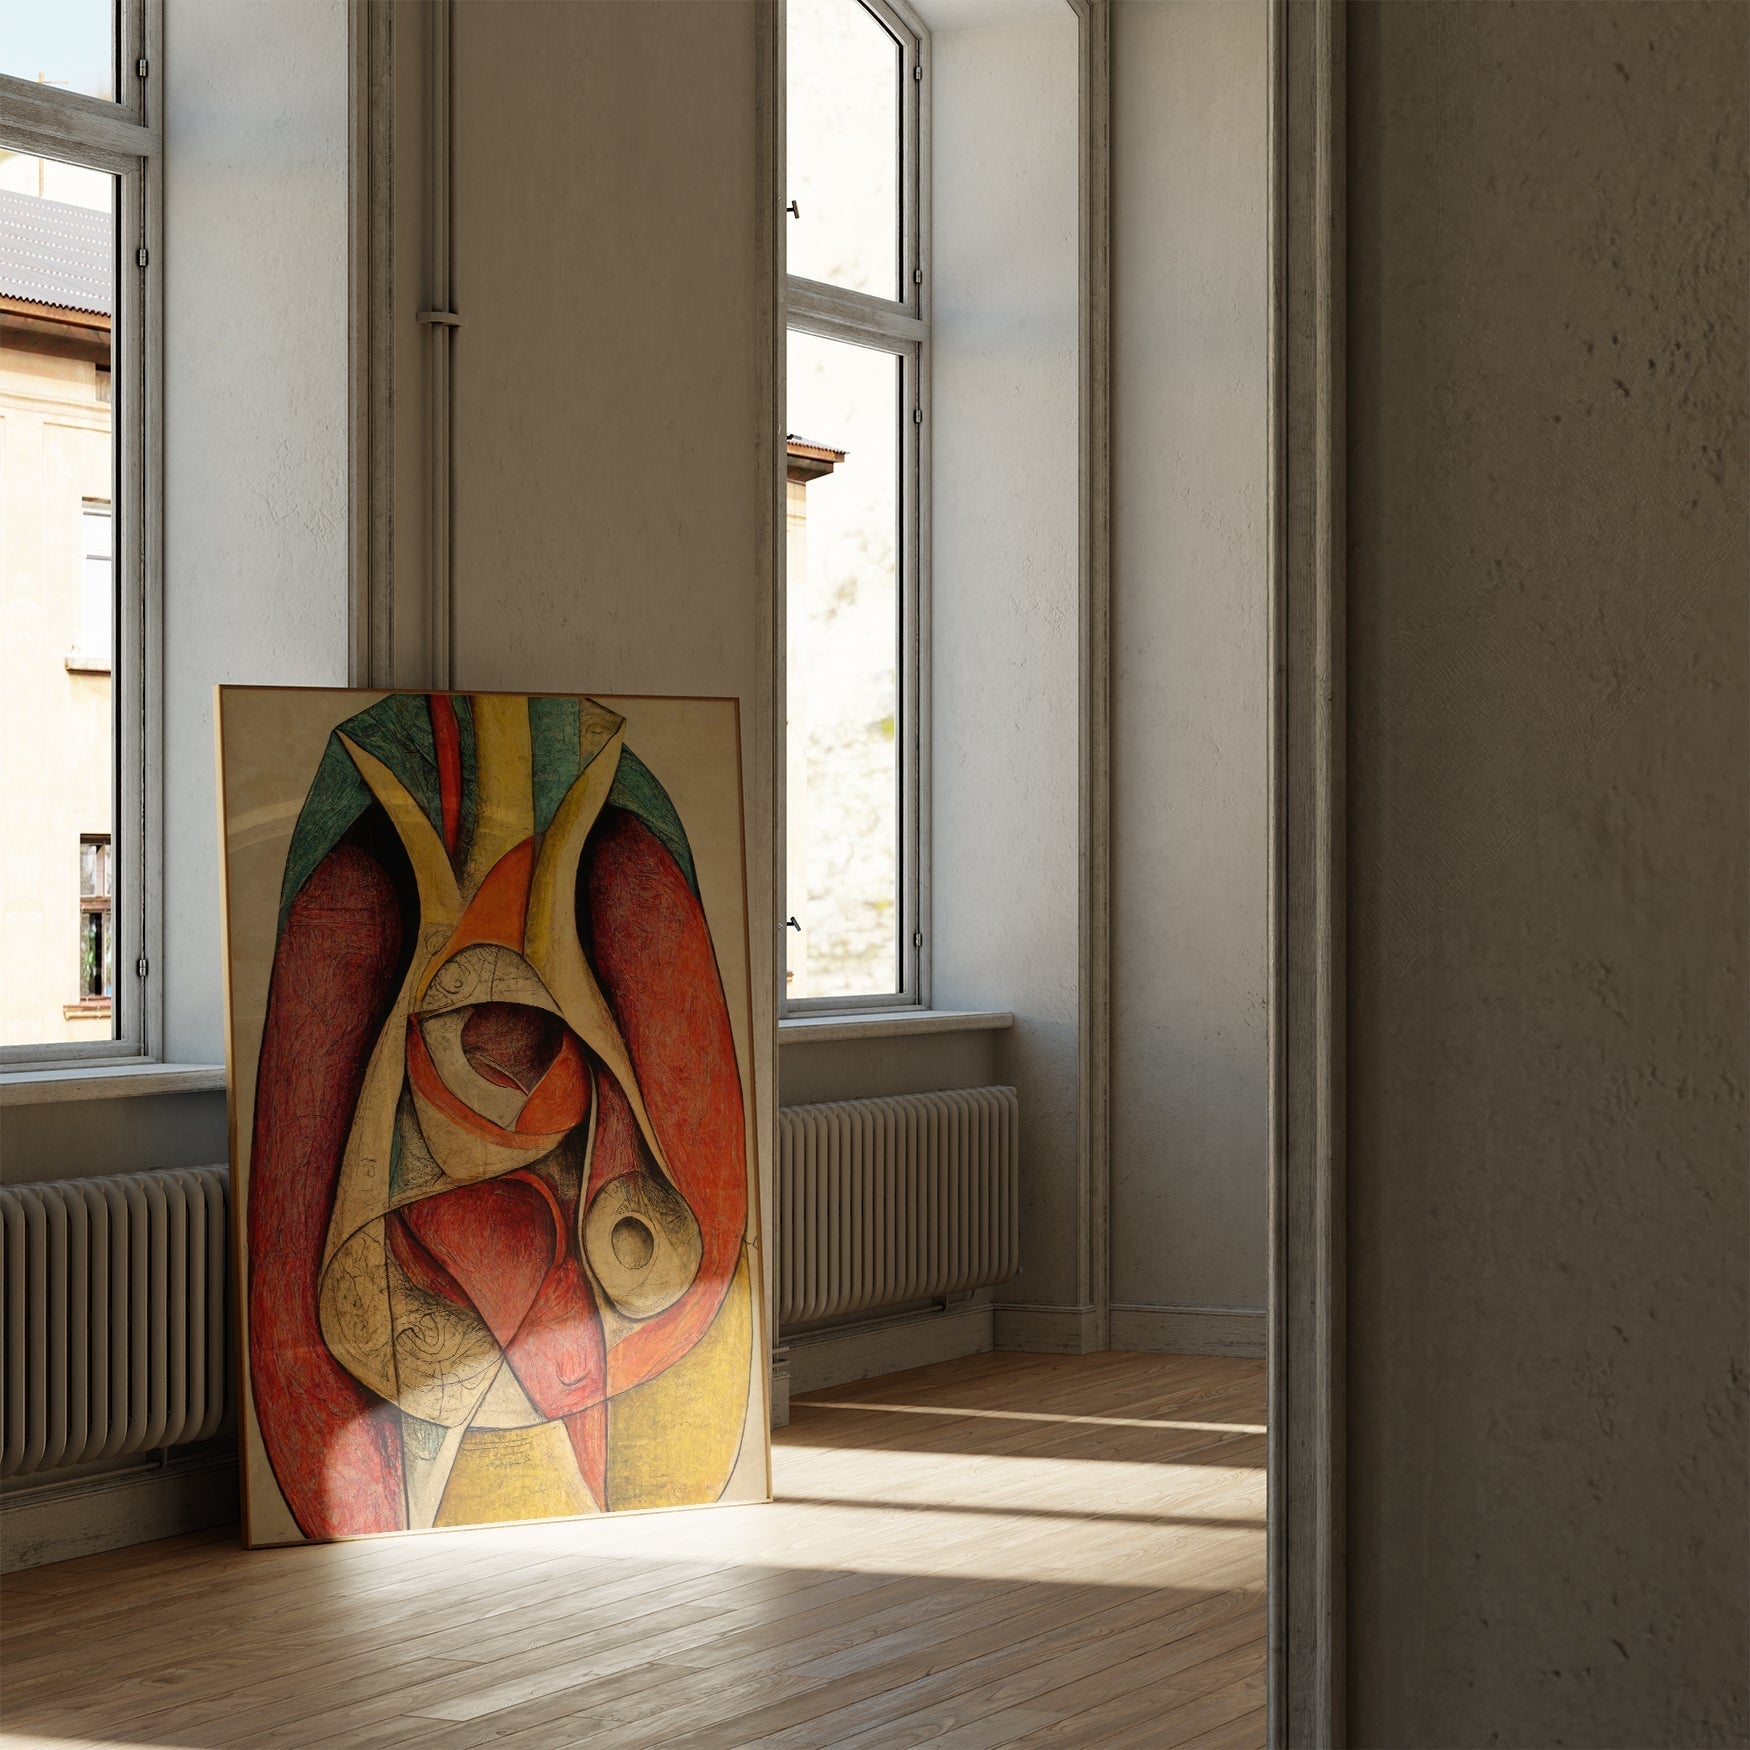
- 24×36 inches (60×90 cm)
Your clinic's centerpiece. Best for:
-
Empty main walls or wide-open waiting rooms
-
Behind the receptionist or doctor’s desk
-
Creating a calm, bold vibe
Pair it with a minimalist frame for a gallery look.
2. Framing: What Actually Works in a Clinic
Your frame should complement the art and your clinical aesthetic. You don’t want it too clinical (read: depressing), but not too “homey” either.
🟩 Doctor-Tested Frame Picks:
-
Black Frame – Sleek, versatile, professional
-
White Frame – Clean, calming, great for pediatrics or derm
-
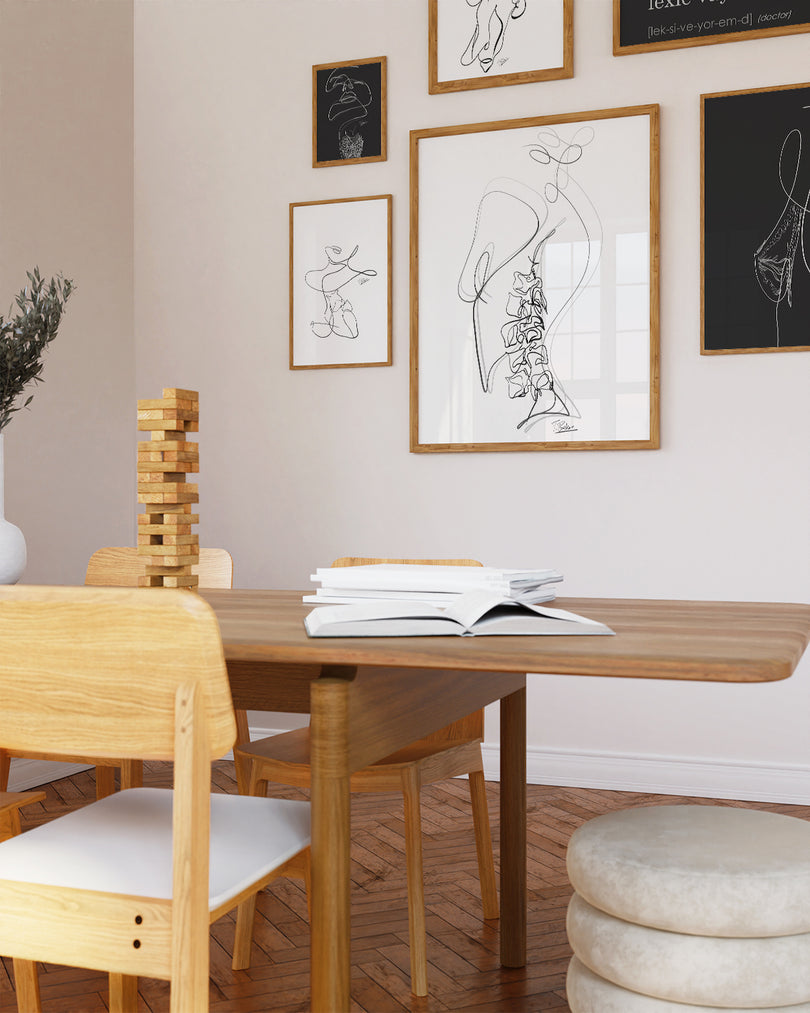
Natural Wood (Oak/Maple) – Adds warmth in family or general practice
-
Canvas Mount (Frameless Look) – Modern, distraction-free, great for large prints
Pro Tip: Avoid glossy glass if possible—go for non-reflective or matte acrylic in high-light areas.
3. Where to Hang Each Size
| Room Type | Best Size(s) | Ideal Framing |
|---|---|---|
| Small Exam Room | 8×10" or 12×16" | Thin black/white |
| Standard Clinic | 12×16" or 18×24" | Matte black/oak |
| Waiting Room | 18×24" or 24×36" | Canvas or oak |
| Reception Area | 24×36" | Framed or canvas |
| Hallway/Gallery | 3× 8×10" in a row | Matching minimalist |
Final Tips:
-
Mix and match sizes for a custom wall gallery (like 2 × 12×16" + 1 × 18×24")
-
Use larger sizes for anatomy-focused prints—they’re easier for patient education
-
Keep frame consistency across one space for a professional finish
-
Let your specialty guide your art: ENT? Go cranial. Orthopedic? Highlight joints. Neuro? The brain always wins.

Shop Doctor-Designed Anatomy Prints
Every piece on DrArtwork.com is crafted by a fellow doctor—me!—with visual learning and soothing design in mind.
Choose your favorite print, select the size, match your frame—and transform your clinic into a space that feels both clinical and calm.